
Happy fall loves! If you are as excited as I am about the return of crisp mornings, cozy sweaters, and hot drinks then you are in the right place! One item that is a staple in our home during the holidays are wreaths. You can never have too many in my opinion! So I thought it would be a fun idea to show you all just how easy it is to make your own!
What I love most about DIY wreaths is that you can customize them to look exactly how you want them! I was able to find all of my supplies at Michaels! All of their fall florals were 50% off!

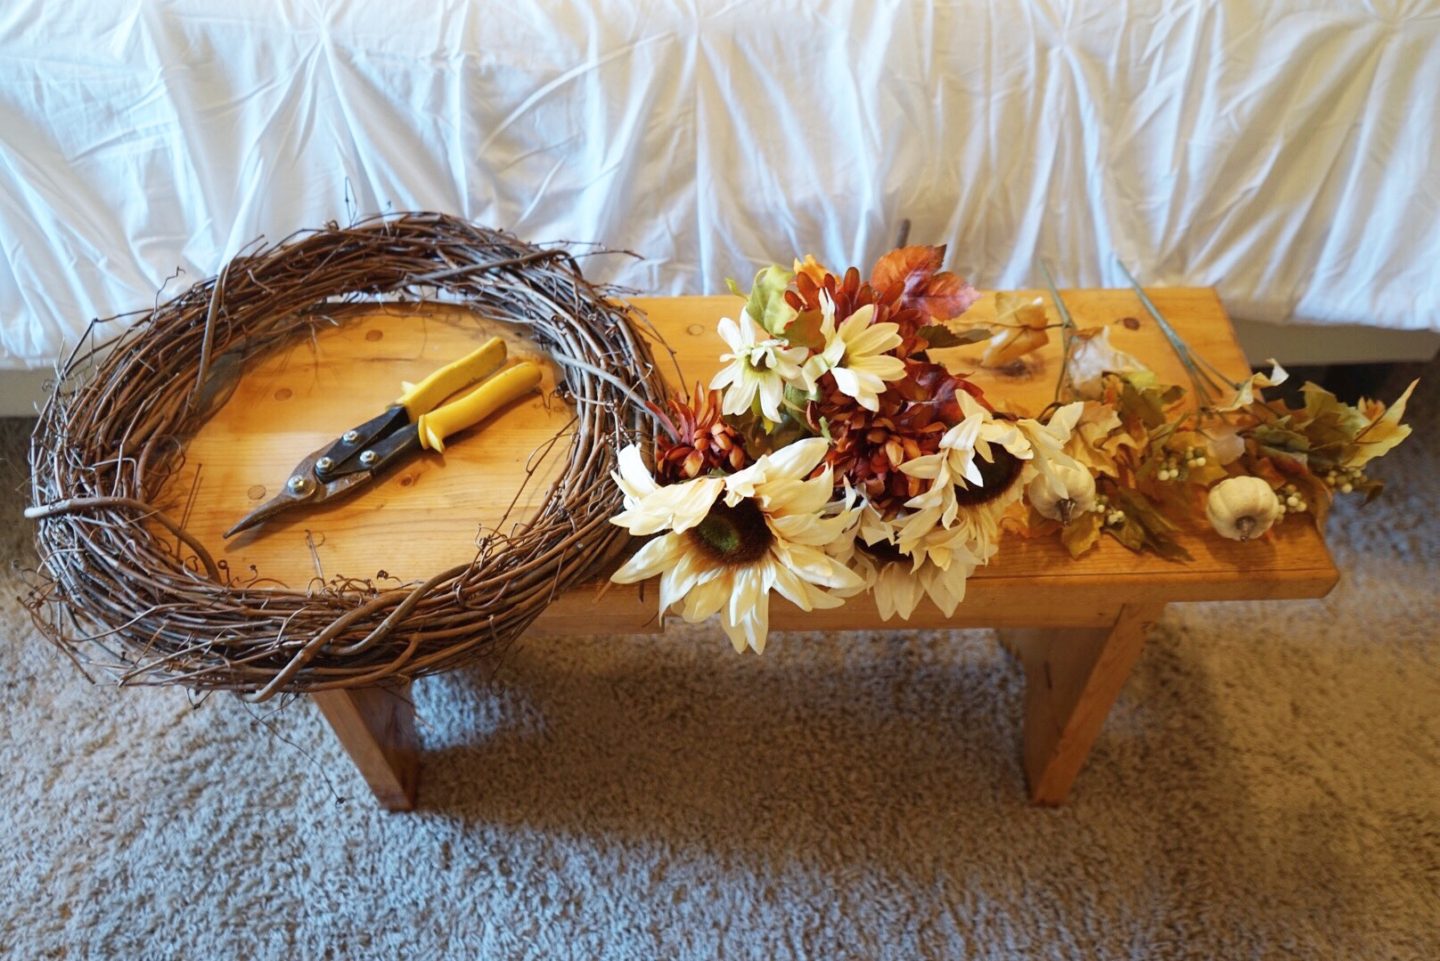
Supplies You Will Need:
- A Grapevine Wreath
- A fall colored floral bouquet
- Wire Cutters
- Small Pumpkins
- Pinecones
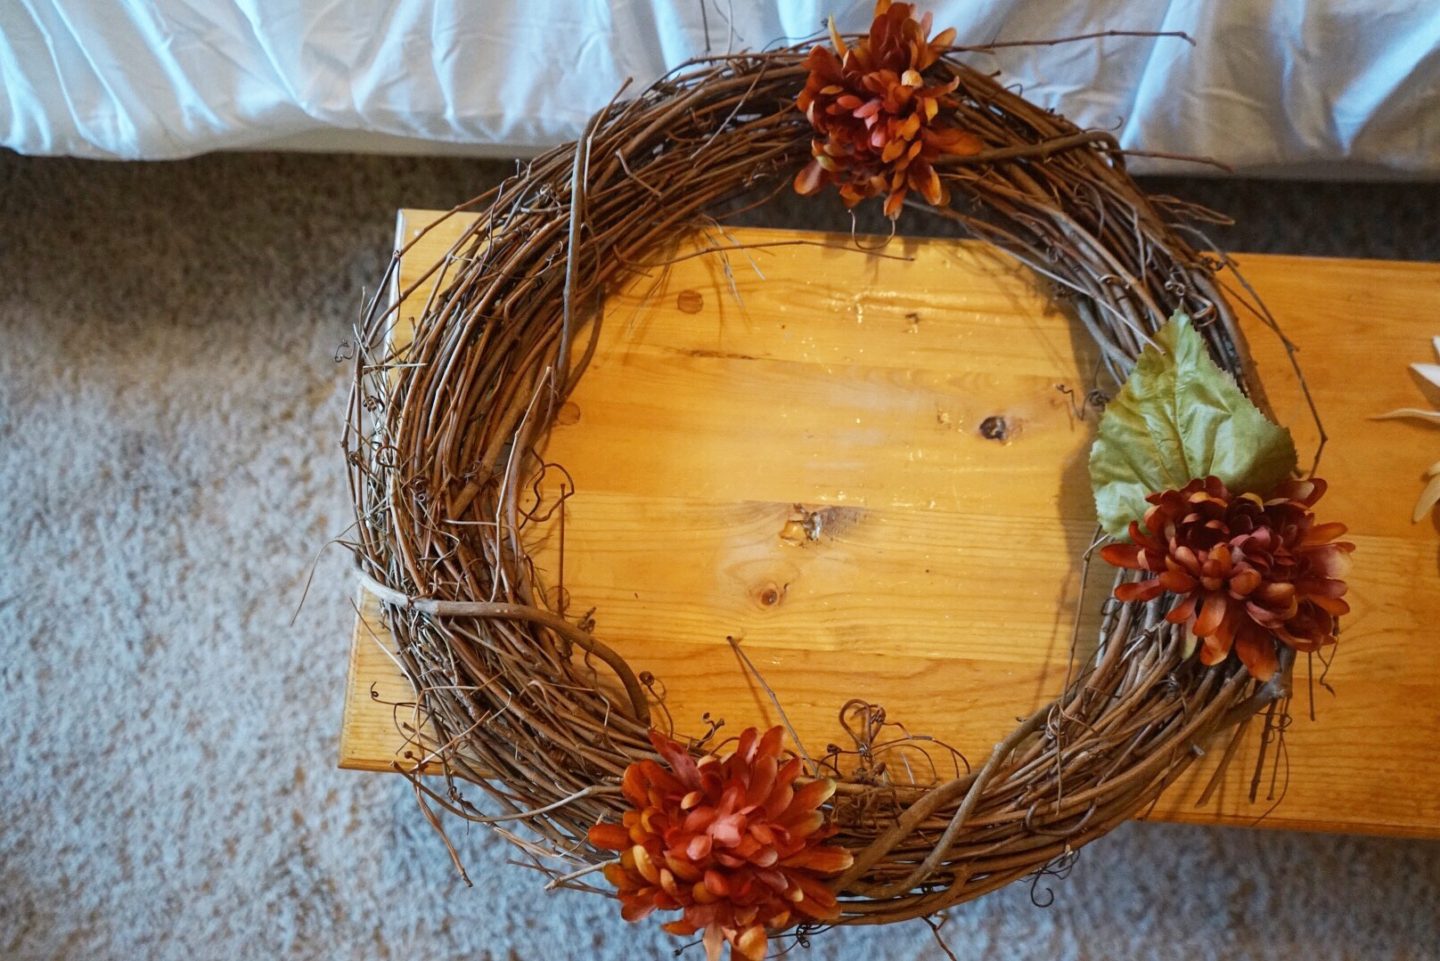
First you will need to separate and cut each flower or piece of foliage from the bouquet using your wire cutters.

Leave a 4 1/2 inch stem on each piece that you cut! That’ll come in handy later!

Next, you’re going to take a flower and poke it through your wreath. Then you will bend the stem and push it back into the wreath to hold it in place. You will repeat these steps for every floral piece that you want to add to your wreath!

Now comes the fun part! Go crazy and add as much fall foliage as you want…wherever you want! You can’t go wrong here! If you have little ones who love to get creative then this is a great part to let them lend a hand. I let my 4-year-old put some of the pieces on there!

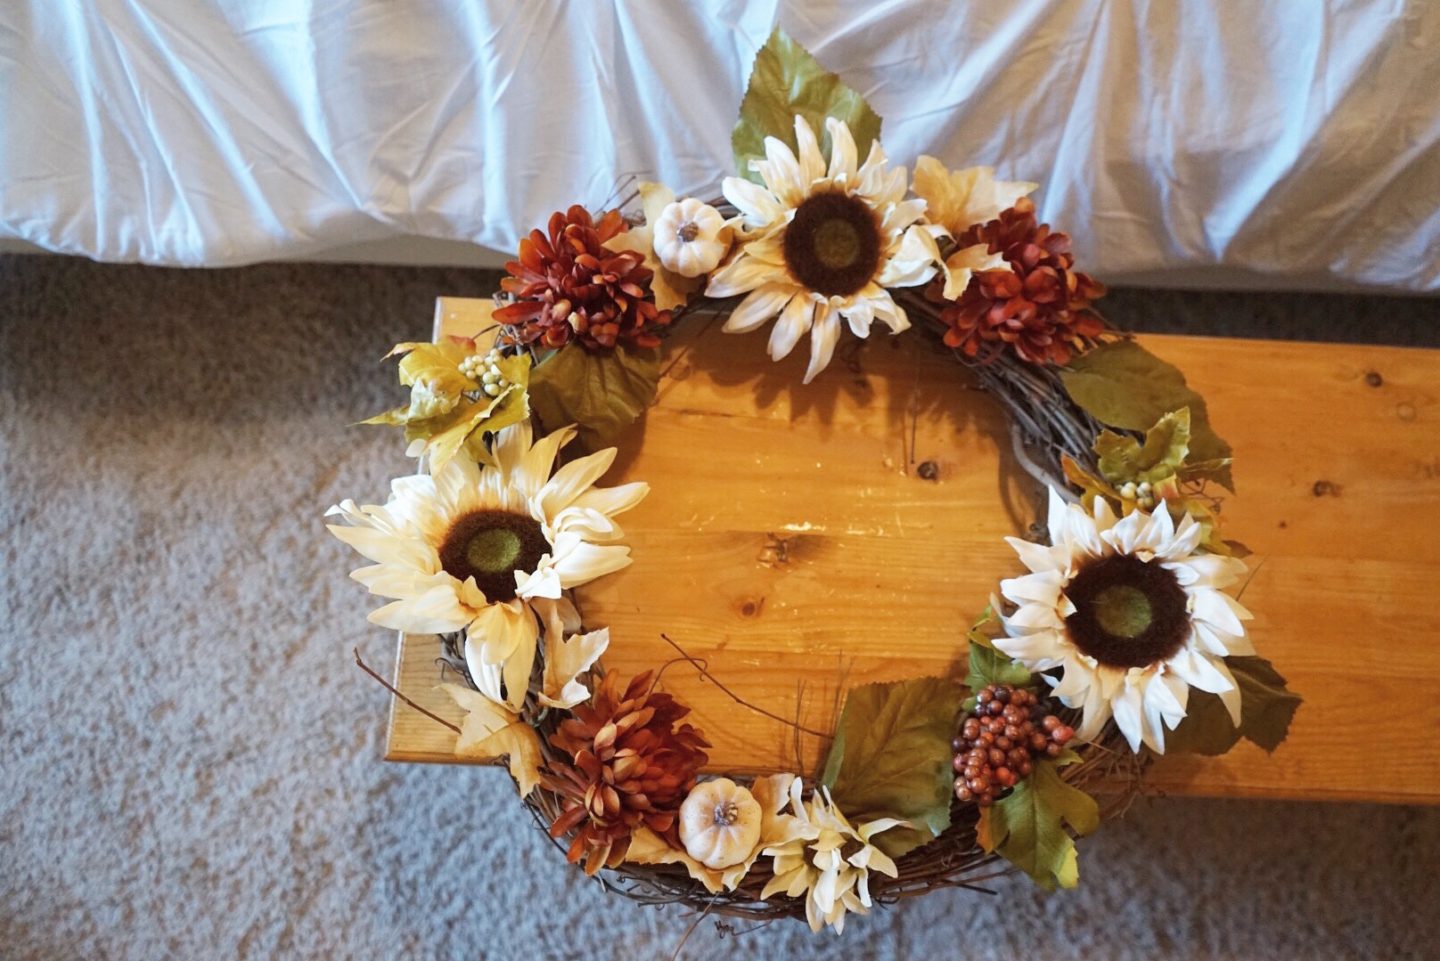
You are done and ready to hang your wreath!

The awesome thing about this wreath is that it cost me under $15 to make! It’s always cheaper if you DIY!
This looks great! My son would surely love this. He also enjoys decorating our home during special occasions. This has become a great bonding time for us. 🙂